
How to Insulate Attic Door Alternatives – What Should You Do?
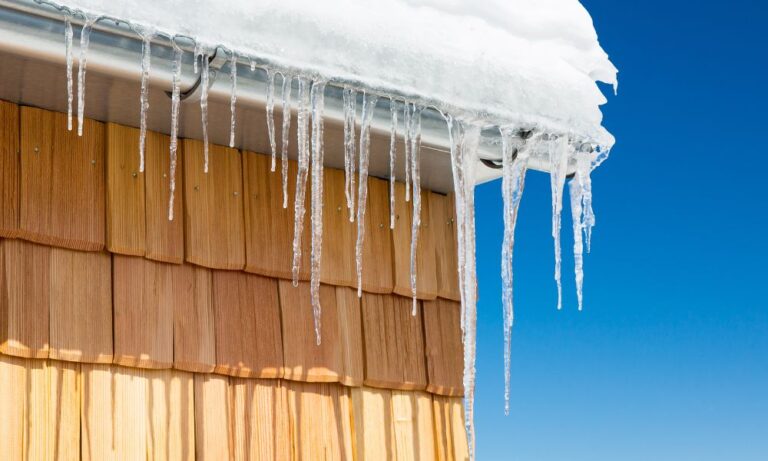
Insulating your attic door is a crucial step in ensuring your home is energy efficient. The attic door can be a major source of heat loss during the winter and heat gain during the summer.
Without proper insulation, the conditioned air from your living spaces can escape through the attic, causing your heating and cooling systems to work harder than necessary. This not only leads to increased energy bills but also places a greater strain on your HVAC system, potentially reducing its lifespan.
Proper insulation of your attic door offers numerous benefits. Firstly, it enhances your home’s overall energy efficiency, leading to lower utility bills. By preventing unwanted heat exchange, your home’s interior temperature remains stable, contributing to greater comfort throughout the year.
Additionally, effective insulation can reduce noise from outside and prevent outdoor pollutants and allergens from entering your living space. Lastly, maintaining consistent indoor temperatures helps protect your home from moisture build-up and mold growth, which can cause structural damage and health issues.
Understanding Attic Doors
Attic doors come in various forms, each serving as an entry point to the attic space while also contributing to the home’s insulation and energy efficiency.
Regardless of whether you want rigid foam insulation in your attic hatch or if you wish to ensure the air sealed is not affecting the rest of your property, having all the information is crucial.
Understanding the different types of attic doors can help you choose the best one for your needs and ensure that your attic is properly insulated.
Types of Attic Doors
There are three main types of attic doors commonly found in homes:
Pull-down Stairs
Pull-down stairs are perhaps the most convenient type of attic access. These doors are usually installed in the ceiling and come with a retractable ladder that can be pulled down whenever access to the attic is needed.
When not in use, the stairs fold up and the door is flush with the ceiling, helping to save space. However, pull-down stairs can sometimes be less insulated than other types, so additional insulation may be required.
Hatch Doors
Hatch doors are another popular type of attic access. These doors are simply flat panels that cover an opening in the ceiling.
Hatch doors can either be lifted off completely or hinged to open, and they generally provide a tighter seal compared to pull-down stairs. Adding a layer of insulation to the hatch door itself can significantly improve its insulation properties.
Scuttle Holes
Scuttle holes are the simplest form of attic access, consisting of a basic opening in the ceiling that is covered by a removable panel. These are often found in older homes and are typically small, making them less convenient for frequent attic access.
Scuttle holes also tend to be the least insulated of the three types, so it’s essential to ensure that the cover fits tightly and is well-insulated to prevent heat loss.
Understanding the different types of attic doors will help you choose the most appropriate option for your home and ensure that your attic door is properly insulated, contributing to better energy efficiency and comfort.
Preparation Before Insulation
Before beginning the process of insulating your attic door, it is crucial to prepare adequately to ensure safety and efficiency.
Some people want rigid foam board insulation, while others just worry about air sealing because of cold air. It doesn’t matter if you want spray foam insulation, fiberglass batt insulation, or rigid insulation in your attic access door. What’s most important is that your attic access panel has a good air seal, and to get that, there are some things you must know. Read on!
Safety Precautions
Protective Gear
Wearing the right protective gear is essential to avoid injuries and ensure a safe working environment. Protective gear should include:
- Safety goggles to protect your eyes from dust and insulation particles.
- Gloves to shield your hands from sharp objects and insulation materials.
- A dust mask or respirator to prevent inhalation of harmful particles.
- Long-sleeved clothing to protect your skin from irritation.
Checking for Hazards
Before starting the insulation process, check the work area for potential hazards. Look out for:
- Exposed electrical wires or cables that could pose a risk of electric shock.
- Loose floorboards or structural weaknesses in the attic that might cause falls.
- Nails or sharp objects that could cause injuries.
Tools and Materials Needed
Insulation Materials
Depending on your insulation requirements and budget, you may choose from the following materials:
- Fiberglass batts: One of the most common and cost-effective options.
- Reflective foil: Suitable for warmer climates, effective in reflecting heat.
- Foam board: Provides excellent insulation, particularly for small spaces.
Installation Tools
Gather all the essential tools needed to install the insulation properly:
- Measuring tape for accurate measurements of the door and insulation material.
- Utility knife or scissors to cut the insulation to the required size.
- Staple gun and staples to secure the insulation material in place.
- Adhesive spray or tape to help attach some types of insulation materials.
- A ladder to safely reach the attic door, if required.
By ensuring you have all necessary safety gear, materials, and tools prepared, you’ll be able to proceed with insulating your attic door safely and effectively.
Assessing Your Attic Door
Before beginning the insulation process, it’s crucial to thoroughly assess your attic door for any potential issues.
Identifying Air Leaks
Air leaks can significantly reduce the effectiveness of your home’s insulation. To identify any leaks:
Inspect the Edges
Carefully examine the edges of the attic door for any gaps or spaces where air could pass through. These areas are common culprits for air leakage.
Perform a Smoke Test
Hold a lit incense stick or a smoke pen near the edges of the door while the attic fan is running. If the smoke wavers or gets sucked out, you have an air leak.
Common Areas of Leakage
Common areas where leaks are typically found include:
- Around the door frame
- Between the door and its surrounding trim
- Hinges and latch mechanisms
Addressing these leaks can significantly improve your attic insulation efficiency.
Measuring Dimensions
Accurate measurements are vital for properly insulating your attic door. Use a tape measure to record the dimensions of the door itself, the frame, and the thickness of any existing insulation. Having precise measurements ensures that the materials you purchase will fit correctly and provide maximum insulation.
When you carefully assess your attic door and accurately identify and address any air leaks, you will be well-prepared to proceed with the insulation process.
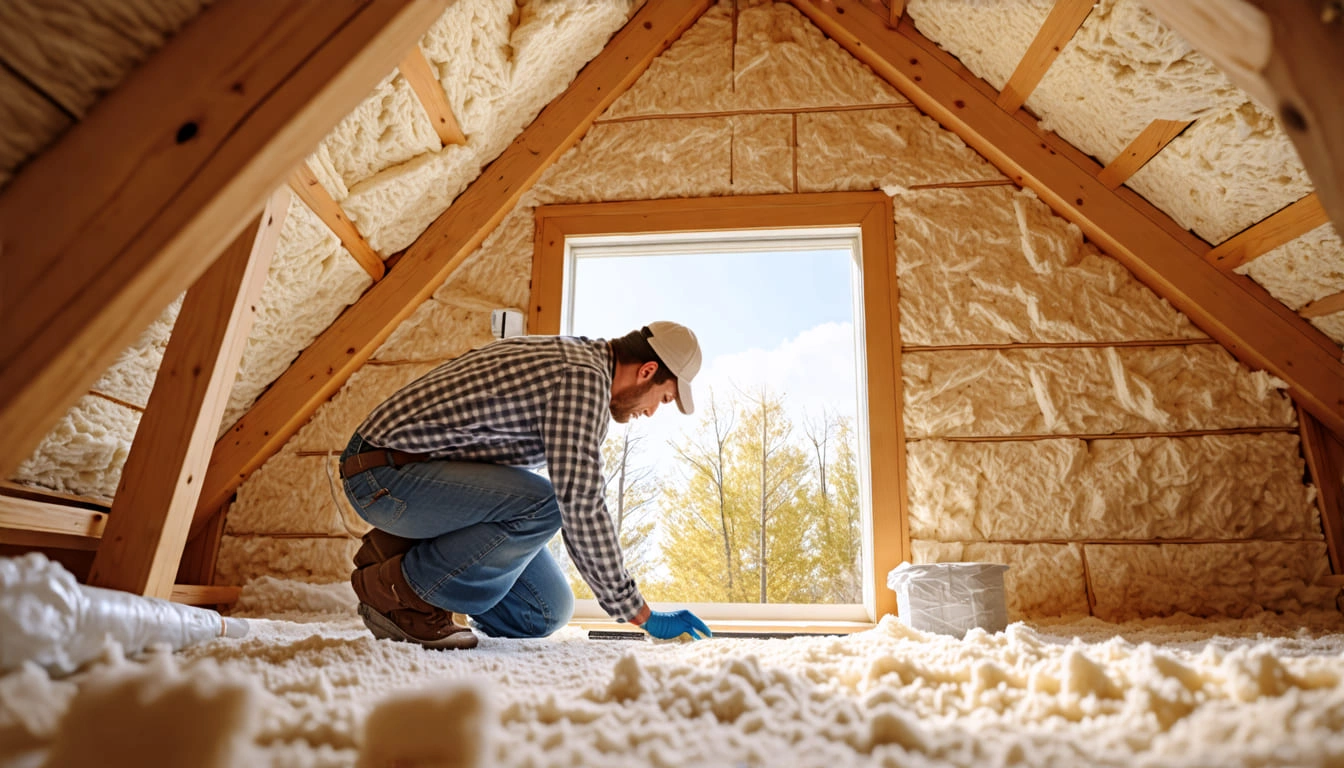
Choosing the Right Insulation Material
Selecting the appropriate insulation material for your attic door is crucial for maintaining energy efficiency and comfort in your home. Here are some of the most common types of insulation materials and factors you should consider:
Types of Insulation Materials
Fiberglass
Fiberglass insulation is made of fine glass fibers and is available in batts or rolls. It’s a popular choice due to its effectiveness and affordability. Fiberglass provides good thermal resistance and is relatively easy to install.
Foam Board
Foam board insulation consists of rigid panels made from polystyrene, polyisocyanurate, or polyurethane. These boards are excellent for providing high insulating value with little thickness, making them a great choice for attic doors where space is limited.
Reflective Foil
Reflective foil insulation includes layers of aluminum foil often combined with paper or plastic. This material is particularly effective in reflecting radiant heat, making it ideal for attic spaces that experience high temperatures.
Factors to Consider
R-value
The R-value represents the insulation’s ability to resist heat flow. Higher R-values indicate better insulating properties. When choosing insulation for your attic door, aim for a higher R-value to maximize energy efficiency.
Moisture Resistance
Attics can be vulnerable to moisture accumulation, which can compromise the effectiveness of the insulation and lead to mold growth. Selecting a material with good moisture resistance is key to ensuring the longevity and performance of your insulation.
Step-by-Step Insulation Process
Preparing the Attic Door
Cleaning and Prepping
Start by thoroughly cleaning the attic door. Remove any dust, dirt, and debris from the surface to ensure the insulation adheres properly.
Use a damp cloth or a mild detergent if necessary to remove stubborn grime. Allow the door to dry completely before moving on to the next step.
Removing Existing Insulation (if applicable)
If there is already insulation in place, carefully remove it. Check for any signs of damage or moisture and address those issues before installing new insulation. Use a utility knife to cut away any old insulation and dispose of it properly.
Installing Insulation
Cutting Insulation to Fit
Measure the dimensions of the attic door to determine the size of the insulation pieces you’ll need to cut. Using a utility knife, carefully cut the insulation material to fit the contours of the door.
It’s essential to ensure that the insulation pieces are slightly larger than the actual measurements to guarantee a snug fit.
Securing Insulation in Place
Once the insulation is cut to size, place it on the attic door, ensuring it covers the entire surface evenly. Secure the insulation using adhesive or insulation tape, making sure it is firmly attached and there are no gaps.
If necessary, use additional fasteners to keep the insulation in place, ensuring it remains effective in preventing heat loss or gain.
Sealing Gaps and Cracks
Properly sealing gaps and cracks around your attic door is essential to prevent air leakage and improve energy efficiency. Here’s how you can effectively use caulk or foam sealant for this task:
Using Caulk or Foam Sealant
Begin by choosing the appropriate sealant. Caulking is ideal for small cracks and gaps, while foam sealant expands and works best for larger gaps.
Applying Around the Door Frame
Carefully apply the caulk or foam sealant around the perimeter of the attic door frame. For caulk, use a caulking gun to ensure a steady, continuous line. For foam sealant, spray it evenly, making sure it extends slightly beyond the edge of the crack.
Filling Gaps Effectively
Work slowly to ensure that all gaps are completely filled. Smooth the caulk with a wet finger or a caulk smoothing tool for a neat finish. If using foam, allow it to expand and cure before trimming any excess for a clean look.
By sealing these gaps effectively, you’ll ensure that your attic door is better insulated, helping to maintain a consistent temperature within your home.
Reinforcing Insulation Effectiveness
To maximize the insulation effectiveness of your attic door, it’s essential to add weather stripping around the perimeter of the door.
This simple addition can significantly reduce heat loss and improve the overall energy efficiency of your home.
Adding Weather Stripping
Weather stripping is a crucial component for creating a tight seal around your attic door. This material helps to block drafts and prevent outside air from entering your home.
Installing Around the Door Perimeter
To install weather stripping around the door perimeter, follow these steps:
- Measure the Perimeter: Start by measuring the length and width of the attic door to determine how much weather stripping you will need.
- Cut the Weather Stripping: Using a utility knife or scissors, cut the weather stripping to the appropriate lengths for each side of the door.
- Clean the Surface: Ensure the door frame is clean and dry before applying the weather stripping to help the adhesive stick better.
- Apply the Weather Stripping: Peel off the backing and press the weather stripping firmly along the perimeter of the door frame, making sure there are no gaps.
- Test the Seal: Close the attic door to check for any gaps or areas where the weather stripping might need adjustment.
If you follow these steps, you can effectively enhance the insulation of your attic door, leading to improved energy efficiency and comfort in your home.
Summary
Insulating your attic door is a critical step to enhance your home’s energy efficiency. By properly insulating this often overlooked area, you can prevent heat loss during the winter and keep cool air inside during the summer, which can lead to significant savings on your energy bills.
This process involves selecting the right insulation materials, sealing any gaps, and ensuring that the door fits tightly.
Regular maintenance of your attic door insulation is vital to ensure its continued effectiveness. Over time, insulation can degrade or become damaged, leading to potential air leaks that compromise your home’s energy efficiency.
Regular checks and timely repairs can prevent these issues, ensuring that your insulation remains intact and functional.
Additionally, periodic maintenance can help identify and address any pest infestations or moisture problems that could further impact the integrity of your insulation. By staying proactive with maintenance, you can enjoy a comfortable and energy-efficient home throughout the year.